The Ohio Valley Civil War Association Flying Telegraph
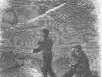
Click on this drawing to see the full size drawing of the Beardslee signal-telegraph--HUGE FILE!
Any discovery is a strong impetus in the development of humanity, because thanks to this we were able to achieve great changes in medicine, socio-cultural points, etc., which you can read about in the works of essays writers. From Harper's Weekly, January 24, 1863: "The army signal-telegraph has been so far perfected that in a few hours quite a large force can be in constant connection with head-quarters. This while the battle is progressing, is a great convenience. The wire used is a copper one insulated, raised on light poles, made expressly for the pupose, on convenient tree, or trailed along fences. The wire and the instrument can be easily carried in a cart, which as it proceeds unwinds the wire, and, when a connection is made, becomes the telegraph-office. Where the cart can not go the men carry the drum of wire by hand. In the picture the cart has come to a halt, and the signal-men are hastening along-- some with the drum, while others with crow-bars make the holes for the poles, upon which it is rapidly raised. The machine is a simple one, worked by a handle, which is passed around a dial-plate marked with numerals and the alphabet. By stopping at the necessary letters a message is easily spelled out upon the instrument at the other end of the line, which repeats bya pointer every move on the dial-plate. The whole thing is so simple that any man able to read and write can work it with facility."
This drawing is often cited as being part of the United States Military Telegraph. This would only be true in 1864 and 1865 when the USMT took over the telegraph operations from the Signal Corps. Even then, the instrument shown would be vastly different and a battery wagon would be present. The Flying Telegraph was a feature of the Beardslee based system Major Myer developed. The USMT took the best features of the Flying Telegraph and inserted their own sounders and keys and battery wagons.But the original "Signal Telegraph" used in the first year of the war did use this wire delivery method and electromagnetic telegraph instruments. One of the failings of the USMT was the massive effort needed to run the wire. The main strength of the "Flying Telegraph" was the ease with which the wire could be strung. Look closely at the wagon. The Beardslee telegraph operator can be seen in the window on the sideboard and the galvanized ground bar driven and connected to the ground binding post. The "riders" are not pulling the wagon with the horses. They are holding the horses steady and ready for the next move. They have just established a station and are placing the lances for the next leg. This way the telegraph was in constant communication with higher headquarters. This concept was brilliantly executed at Chancellorsville and Fredricksburg. The Beardslee was the link to all headquarters at Stones River following that furious and fluid battle, Meade's logistical communication system at Gettysburg, and the main communications at the tactical level at Chickamaugua.
Reproduction Beardslee Photos
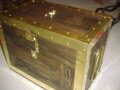
These photographs are of the reproduction (or to be pure about it: fully functioning replica) Beardslee telegraph machines now completed. Two of these sets are being used by Dave Harbin of the Second Michigan, two are being used by the United States Army Signal Museum located at Fort Gordon, Georgia for demonstration both in the museum and for field events under the control of Mike Rogers and Cliff Manasco. The third Beardslee set is being used by the Ohio Valley Civil War Association. It is planned that all of these machines will be brought together on a set of lines sometime in the future. These machines take the best of the Beardslee and the Chester telegraph sets. As such, they are very well suited for living history and reenactment situations where time is critical and very limited. With the light poles and the reels, they are truly the "Flying Telegraph."
Our grateful thanks to both Cliff and Mike and to the United States Army Signal Museum as a whole for their very kind assistance in providing technical, photographic and dimensional information as well as copies of historic documents regarding the Beardslee telegraph.
A special thanks to Doug Roush of the 19th United States Infantry and the Ohio Valley Civil War Association for his fine work in rendering the center indicating dial script. His work never ceases to amaze all who see it.
Of course, there is the master himself: Dave Harbin. This man has done more for the Civil War Signal Corps and United States Military Telegraph impression than anyone I know of. I am in utter awe of his abilities and stand hat off and eyes downcast in his presence and in the presence of his work.
A kind thank-you to Cindy Hook who patiently converted my madcap instructions into beams of laser light and whirling cutters that rendered wonderful creations.
Any screw-ups and errors are mine and mine alone.
NEW! Signal Corps Museum
Photos
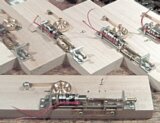
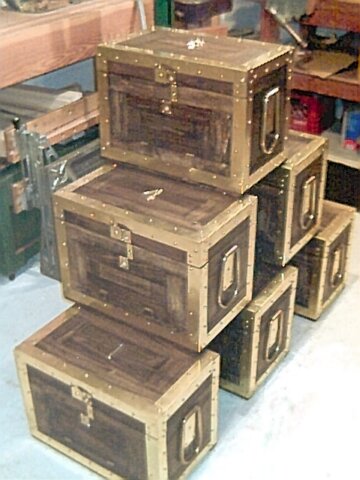 Six Beardslee Telegraph boxes under construction |
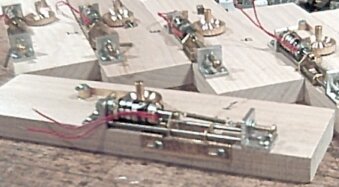
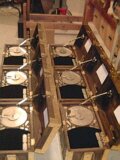 Six Beardslee Telegraph boxes with the lids open |
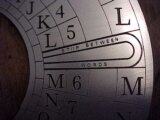
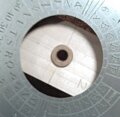
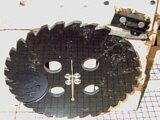
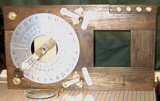
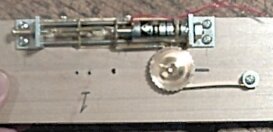
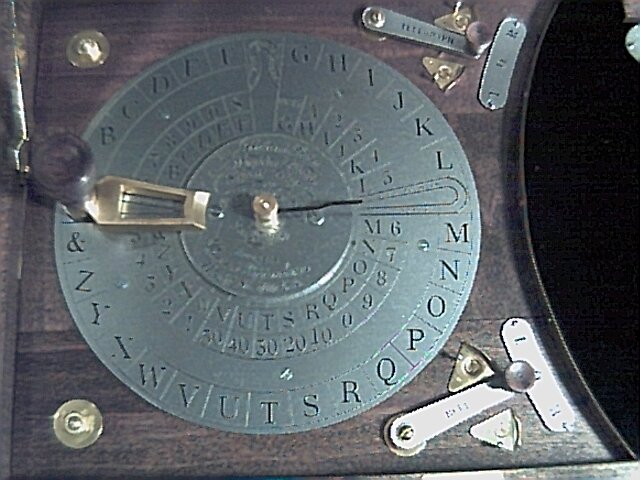 The Beardslee dial set |
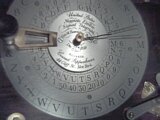 Close-up of the Beardslee dial set |
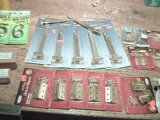
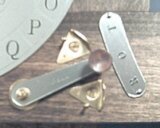
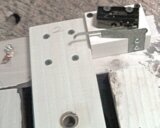
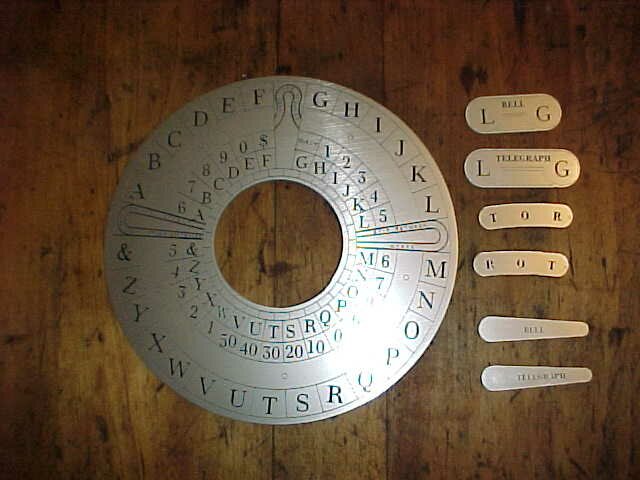 Beardslee dial and switch plate parts |
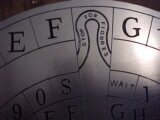
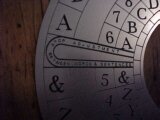 Beardslee left dial stop between words and sentences close-up; this is the starting point |
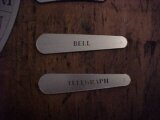
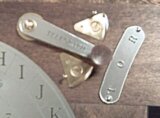
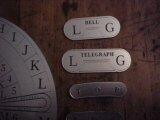 Bell and Telephone labels for Beardslee connections |
 Bell and telegraph cover plates for Beardslee switches |
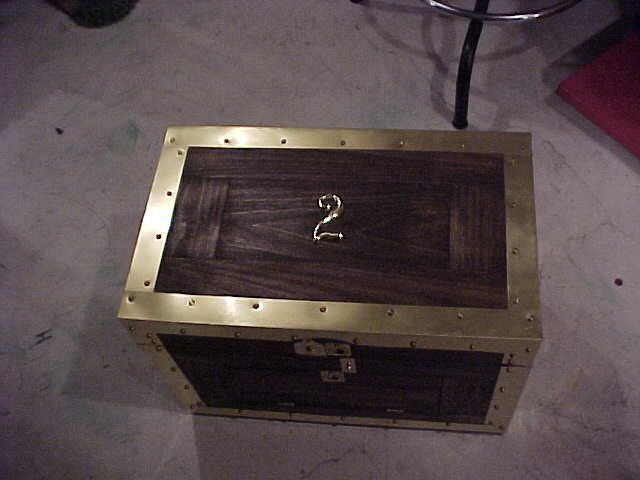 Beardslee box number two top view |
 Top of Beardslee dial-stop for figures |
 Close-up of the Beardslee locks |
 Beardslee right stop for words position |
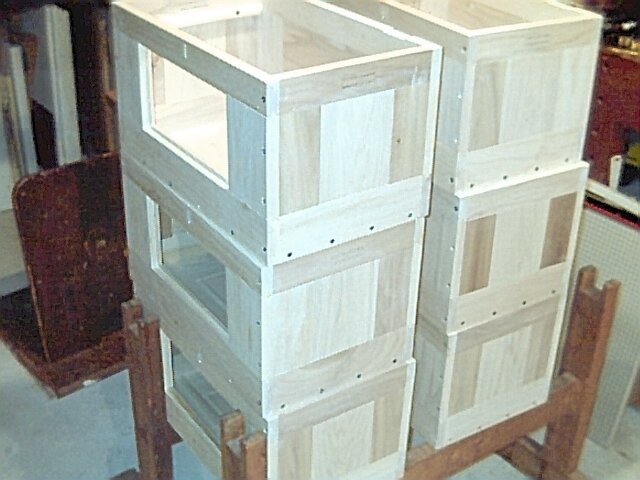 Beardslee boxes under construction |
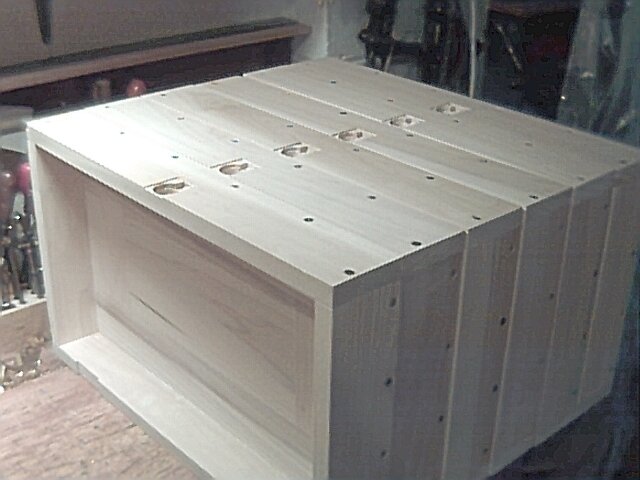 Beardslee box lids under construction |
 Beardslee trim package:brass edge trim |
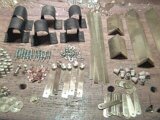 Beardslee trim showing switches and bell bypass |
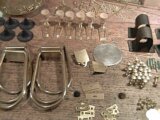 Trim package with handles |
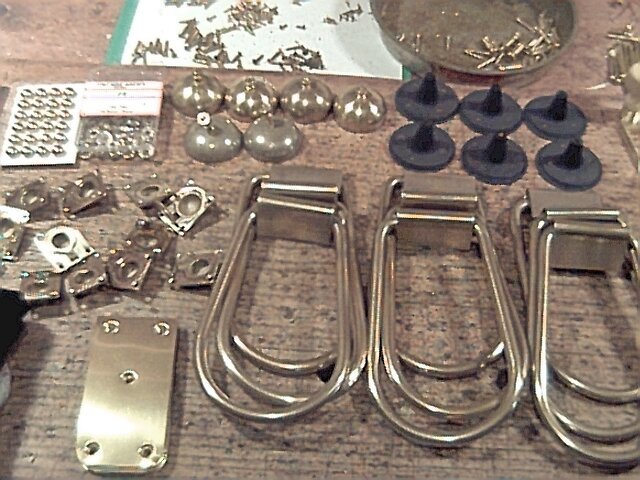 Trim showing bells |
 Trim showing hinges |
 Trim showing hinges and supports |
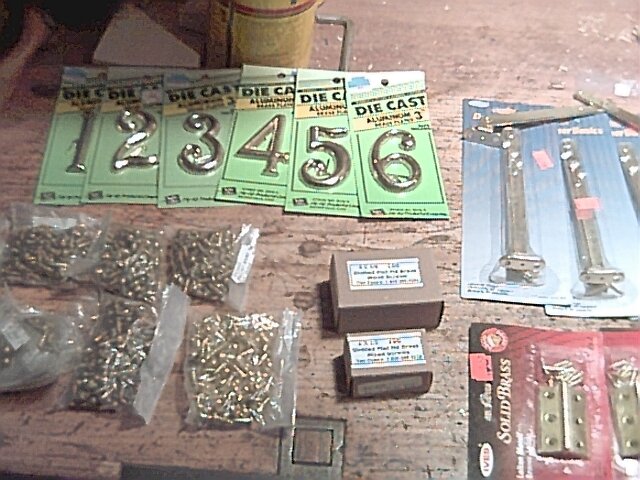 Trim showing box numbers |
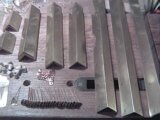
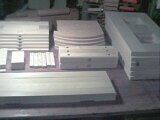 The stack of woodparts that make up the Beardslee |
 The bearing for the Beardslee dial |
 Some of the parts that make up the dials |
 The bell switch |
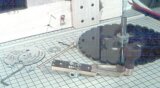
 View showing the dialswitch mechanism |
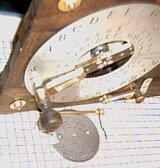 View of the Beardslee center dials |
 View of the main dial from the top |
 The indicating dial drives |
 View of the center dial drive |
 Another view of the center dial drives |
 Beardslee indicating dial drive top view |
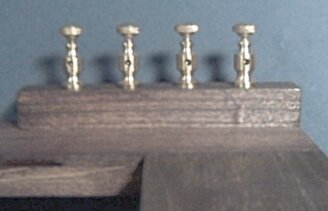 The four hitchers |
 Stepping switch arrangement |
 Telegraph transmit and receive switch |
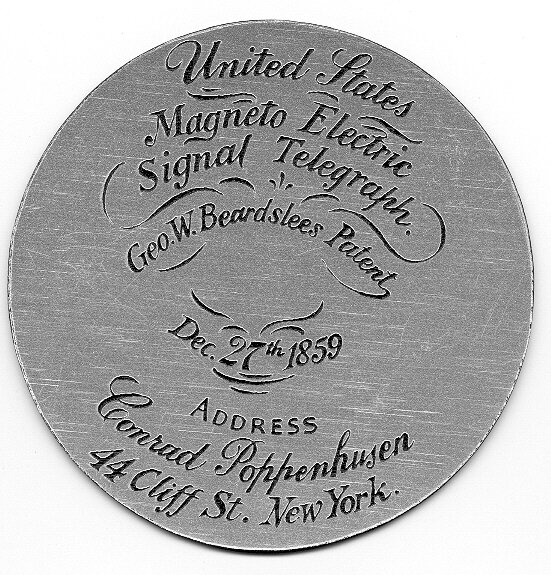 Center dial engraving |
 Beardslee Flying Telegraph |
 Signal Corps |
 U.S. Military Telegraph |
 Represenative Event Reviews |
